"When our eyes see our hands doing the works of out hearts, the circle of creation is completed inside us, the doors of our soul flies open and love steps forth to heal everything in signt"

-- Michael Bridge

Tuesday, November 9, 2010

Christmas Ornaments for the Bargain Hunt

Hello there crafty friends. I'm super excited about today's share :D. About a year ago, or so, I started saving these Bo Bunny Button/bling packs: I had seen some neat ways of recycling them online by making cards and such & knew I'd want to give that a try at some point...

I decided to use them to make ornaments to sell at the Bargain Hunt. I used both the dome piece and the piece that interlocks into the dome (to securely keep the buttons inside). I cut both circles out very close, but left a small lip for gluing purposes. Then I took a Maya Road House (chipboard coaster) mini and traced them onto October Afternoon's & Fancy Pants Christmas paper (left over from last year). I traced coordinating paper to cut a circle the size of the domes. Then I stamped & paper pieced away. The owl/snowflake stamps are from Hero Arts and the sentiments are from Lawn Fawn's Cozy Christmas Set. I colored the owls in with copics and popped them up with foamies. I then added Marth Stewart course glitter to the and circle and added Glossy Accent to the edges of the domes and glued that to the stamped papers. Let them dry & had the cutest ornaments ever!!


I covered the backs of the houses with coordinating paper, and then I used the "Merry Christmas" stamp from the Hero Arts Owl set & wrote in 2010. I buy a dated keepsake ornament every year, so I thought that'd be a nice touch.

I just love them, heaps of love!! I also had a neat idea: I'm going to have a mini artificial Christmas tree to display all of the ornaments I've made...smart ;).

Well, that's my share for today. Hope you likes ;). have a great day!

Monday, November 8, 2010

Crafty for a Cure!!!!

Hi there. Hope everyone had a nice weekend. As for me, I was in full-on panic/craft mode!! With the Bargain Hunt this coming weekend, there was just no time to waste. I've made SO many goodies and will have much to share this week :D.

So, I've been wanting to make a banner for my crafty space (which is essentially my kitchen table and a giant bookshelf packed with goodies) for a while now, but...eh, didn't know where to begin, and I just always have so much I want to play with, try, or do; so, the idea of it has basically been sitting backseat for a while. Then, on my Birthday - of all days, I get an email from Maya Road that they had some "Creating Art - A Banner Process" kits left over from CHA. It was just too good of a deal to pass up - and I had just gotten some birthday cash - WOO HOO!! - needless to say, I snached of those babies up right away! Oooooooh-weeee, it came jam-packed with Maya Road goodies - WAY more than enough to make the banner (which was supposed say "ART").

Anyway, when it came in, I just put it aside because, with all this Bargain Hunt maddness, I didn't want to take time out for goodies for me... Well, yesterday, I finished all of my Bargain Hunt crafts, and then it came to me, yes, I wanted the banner for my crafty space, but I was thinking, it would be perfectly awesome to go further and use it as a decoration for my table at the Bargain Hunt!! So this is what I came up with:


I absolutely love how it came out. The kit was awesome - just packed full of goodness - with EXTRAS!!! Almost everything (and oh, so much more!!) I needed to make this entire (extended) banner was included in the kit! I added sparkly Evergreen Glimmer Mist for the Chipboard scallops. I also added a page from a Fancy Pants Bracket Mini Book I've had stashed away, along with my own October Afternoon Thrift Shop goodies to complete that. As you can see, I played around with my Cosmo Cricket flower again & made a smaller version of it annnnd I actually got it perfect this time!!!! I also used Crackle Accents on the letters of the bracket page - love the effect.

After the Bargain Hunt, I will take off the bracket (will use that for something else later) and hang my "crafty" banner up on my scrappy shelf, looking like this:
So, best of luck to me this week - to tie up all of my loose ends - and for a successful Bargain Hunt. I've got lots of craftiness that I've made to sell, and will share most of those goodies with you through out this week. I hope I do well, all of the $$ I make from this Bargain Hunt will go directly to the American Cancer Society's Relay for Life, which I'll be walking in March. Thinking happy thoughts. Wish me luck!!! Have a blessed day!!

Wednesday, November 3, 2010

Another awesome project!

Ok, I don't mean to toot my own horn...but I made something totally awesome this weekend (so says me). It's another goodie I'll be selling at the Bargain Hunt. So, I've mentioned before that my goal here was to use up my stash - and not buy new stuff - but, for my B-day, I got a Michaels gift card and had a few extra dollars on it to spare ;)...so... I picked up a few plain wooden swivel picture frames. They were $2.99 each. Started out just plain old wood, and I turned them into this:

What-do-ya-think?!? I’m thinking I can sell them for at least $10 bucks - maybe $15 (I’m getting mixed reviews on that one). I just looooooove this paper. I've used it a few times and it just seems to multiply in my stash, I can never seem to use it all up!! Maybe that's because when I got it, I loved it so much, and got lucky because one of my LSSs was moving and had a big 50% off everything sale - so I picked up quite a bit of it. Anyway...I've STILL got some left over.

Anyway, I painted the box's edges with acrylic paint (only the edges - didn’t want to paint over spots that would just be covered with pretty paper). Then I measured and cut the paper, for the picture squares, I used a craft knife to take out a 3 and a quarter inch square out of the middle. Then I used Elmers craft glue - worked like a charm - to glue the paper to the wood. I was really worried that it wouldn’t work (stick) because it doesn’t SAY it’s for wood, but it stuck on beautifully!


For that amazing flower, I used this video tutorial from over on the Cosmo Cricket blog. Let me tell you, it’s just an awesome tutorial - go check it out!! I don’t have a 3 inch circle punch though, so I used a cup ;). I kinda messed it up, when assembling it, but I don’t think you can really tell. Also, my flower isn’t exactly like theirs. I used less circles, and didn’t do it exactly the same, but I am happy with it. Since my paper was not patterned on the back I chalked the back of the paper with ColorBox. Then I added a Papertrey Ink button and some yummy bakers twine from The Twinery. Here's a closer of look at my flower:

When all was said & done, I filled it with my own pics for now - to display at the Bargain Hunt (AND because Sal kept on saying it looked like a bird house - ???). The boxes open up. I have an idea for the inside... I’m thinking to take clothes pins and cover them with this patterned paper and make them into magnets for the fridge. Just a little something to stick inside, we’ll see. I’m hoping they’re good sellers. Trying real hard to make things I think will sell and raise the most $$ for my Relay for Life walk ;).

Well, I hope you have a rockin day - OH!! P.S. you should totally be checking out the Lawn Fawn Blog for your chance to win some of the new releases!!!! They’ve got some awesome new sets coming out tomorrow, their design team has been making beautious goodies with them, and my fingers are just itching to buy (hopefully win!!) Some of these new stamps - especially the new font they have - Jessies. Go. There. Now. ;)

Tuesday, November 2, 2010

More Christmas Cards for the Bargain Hunt

Good morning! Like I said yesterday, I went into absolute craft mode this weekend. Honestly, I had such a crazy week, last week, busy busy every day (glad that week is behind me) then I crafted weeeeee into the evening every day on top of all the craziness - It was fun though ;)! I have to, there are only 2 weeks until my church's Bargain Hunt, and I'm dedicated to being as prepared as I can be. Ready to make/sell crafts to make $$$ for the (American Cancer Society's) Relay for Life I'm walking in March.

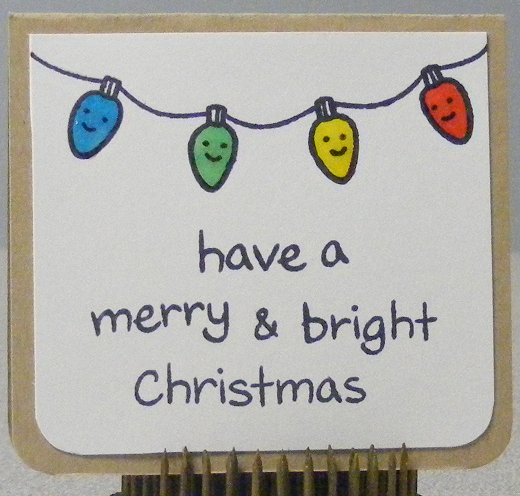
I'll get right into it, first of all please excuse my wonky pictures. I'm sorry, I was having issues. Anyway, last Monday for my Birthday, I got a little load of cash from family. To my amazement, my LSS just started carrying Copics that very same day!!!!!!! I invested in a few of them, and I just can’t tell you, I. Am. So. Super. Excited. I love these little Christmas lights in my Lawn Fawn Cozy Christmas set, but was kinda avoiding them because I DID NOT want to paper piece them, and didn’t have anything to color them in with. Plus, Kelly Marie did an awesome video tutorial where she colored these lil lights in with Copics and then used Glossy Accents to make them pop. Now that I have my beautious Copics, this was the first thing I wanted to try!! I made both Christmas Cards and also mini Gift Tag type cards using Kelly Marie’s awesome technique. Hope you like them. I just adore them. Don't mind me, I haven't gotten to putting yellow/blue buttons on yet. Tonight, tonight, The twine is from The Twinery, I got it here. I am just absolutely in love with Bakers Twine. It makes me extremely happy!!


For these litttle Gift Card Tags, I used more Hero Arts stamps and white ink (and buttons) from Papertrey Ink. I added some stitching so that the snowflakes didn’t look like they were just floating in the middle of no where. I love love love how stitching looks, but hate hate hate how time consuming it can be (even stitching in a straight, short line - especially when you have a 10 card assembly line going on). But I honestly love how they came out!!

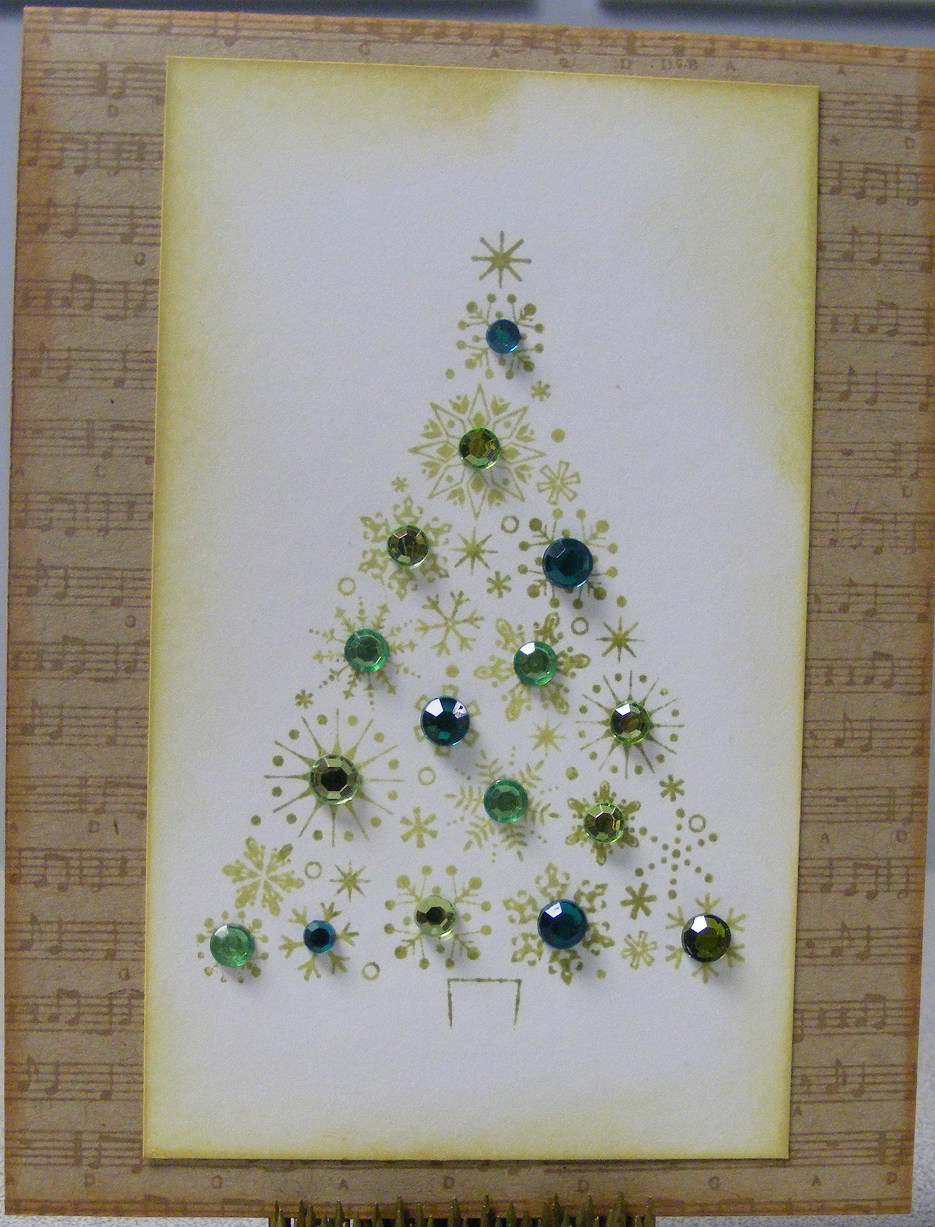
Lastly I made these pretties using this lovely Hero Arts Stamp - got it at Michaels with a 40% off, and I love it - along with Tim Holtz Distress Inks. Here's a looksie:


Well, that's all I have to share for today. I’ll have more crafty items to share later in the week, but, I wanted to focus on the plethora of cards I made last week/this weekend. I have about 60 Christmas cards made as of today. All different variations and styles AND there will be more to come! I haven't taken pics of my other projects just yet, so hopefully, I'll share them tomorrow. Hope you have an awesome day!!!

Monday, November 1, 2010

The Halloween Maddness is Over!!

With the Bargain Hunt getting closer and closer, I feel like I’ve been busier and busier!! This weekend I made a ton of cards.

I actually had a completely hectic weekend. I took Thursday off to volunteer at Christian’s school for his Halloween Party. He was so happy to have me there!! They didn’t let the kids dress up in their Halloween costumes, instead, their theme was “Fairy Tale” characters, and they all dressed up as such and marched in a little fairy tale parade. Christian chose to be Jack & the Beanstalk. We got good and crafty (last weekend) by making him a beanstalk (paper chain) out of green cardstock. He did all the stapling and everything - and was VERY proud of himself. I also took a bunch of marbles, some paper, bling, and a little box and turned them into Jack’s Magic Beans. We used his Christmas shirt from last year and cut off the sleeves to turn him into a proper Jack:


Also, Thursday night, we had the “kick off” party for the Relay for Life. Each team had to pick a TV show as their “theme”. We decided on the A-Team because we knew Christian would be a super cute little mascot - so we dressed him up as Mr. T. It was great!! He was super cute, and kept saying “I pitty the fool” the entire time. It was also really nice to get psyched about the Relay, which is on March 26th!! So inspiring and motivational!! Here’s my lil Mr. T:

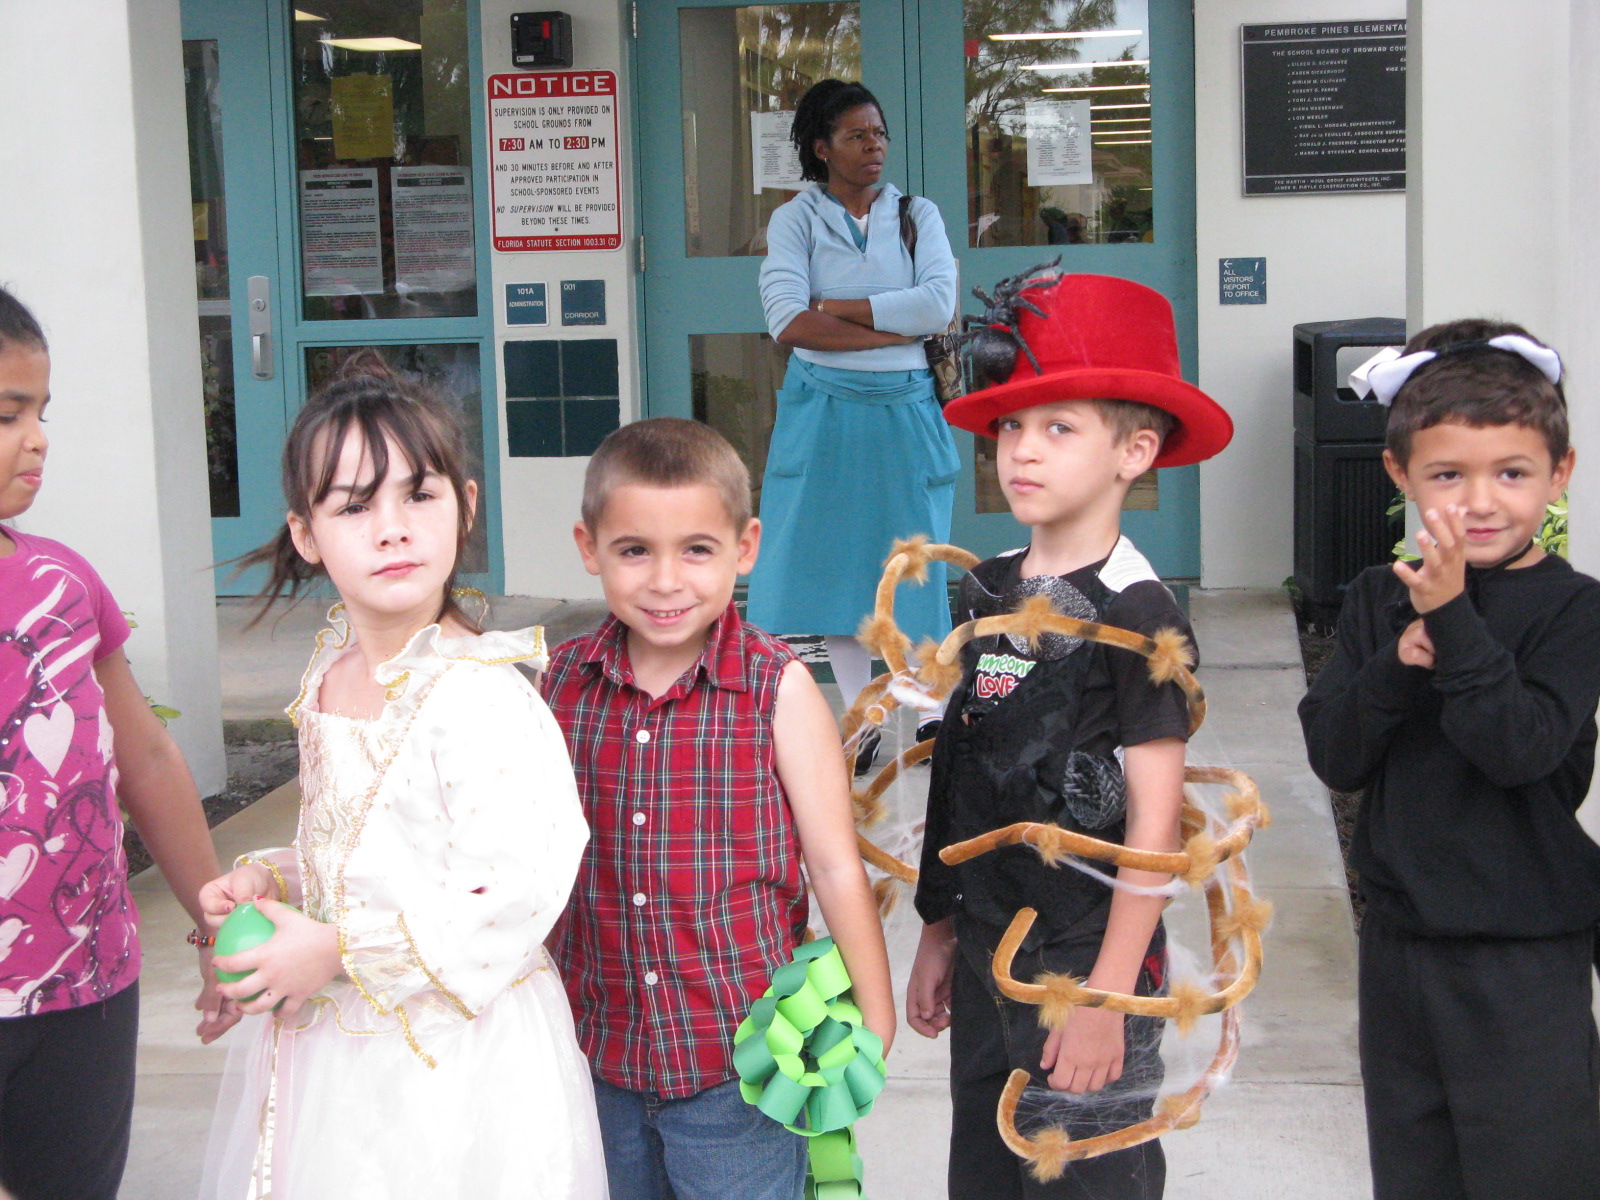
Then on Friday, I volunteered at Alivia’s school for her Halloween Party. It was adorable. She had a blast!! Who wouldn’t?!? I almost wished I was a kid again!! Here’s a looksie:

Saturday we has a Fall Festival at Church. The kids had a blast. Learned how to bob for apples - and loved it!! Then last night, of course, we went trick-or-treating. It was the most precious thing ever to see my little Lulu running up to doors at the speed of light to say her “trick or treat” and “thank you”. She was the sweetest Lady Bug ever!! Christian was a Bakugan. If you don’t know what that is, well, you’re lucky ;). Basically, he was a dragon. My niece, Paige, was a “Midnight Maiden”. Her wig and makeup was the most exciting part for her, and she looked super cool!! As we do every year, we trick or treated with our friend Cherie, her daughter Taylor (who was Maiden Marion, from Robin Hood). Cherie's grand baby, Jayson also came along, he was super cute lil vampire, so Alivia had her own little Edward ;) hee hee. My mom was a clown. Made her costume herself - that crafty lady!!


It was great fun. The kids had a blast and it was just so wonderful to watch them enjoy themselves!!

I’ll share all of my craftiness tomorrow. I’ve gotta warn ya, I made a ton of cards ;). Have a great day - hope your Halloween was awesome!

Wednesday, October 27, 2010

Pickin' Pumpkins

This weekend my family visited the Pumpkin Patch. We even tried a new one this year - and took my mom along ;). We had “fun” but both myself and my mom were just not feeling great. My mom had a really rough week. She had the “double dose” of Chemo as she calls it. She does chemo 3 Thursdays a month, and one of those Thursdays (last Thursday) she gets two different meds with her Chemo. When she gets the "double dose" she always ends up feeling pretty sick, runned down, and VERY fatigued. As for me, I don’t know what was wrong (Ok, I’m lying it was probably PMS - sorry, but true). I always love Pumpkin’ Pickin’ but I was so in a bad mood this time :( and didn't feel great. The kids had fun though!! What is it about pumpkins that make people happy?!? I guess it's all the varying sizes of cute pumpkins? Maybe the hay? No clue. But it is fun! It’s so funny, last year, Alivia was just a lil wee one who just sat there. This year, she was running all over the place. Picking up (and then dropping) pumpkins. So cute. Paige and christian were like "This one, No that one" the entire time.


Usually we’d get a giant Pumpkin to carve, but that just wasn’t in the cards for us this year. I have so many projects I'm working on for the Bargain Hunt, and I made about 35 of the Goodie Bags for my kids' classes - basically, I'm swamped!! Plus, my mom picked up this cute little wooden turkey that you paint and then poke into the pumpkin. The kids had their hearts set on decorating that and it required a smaller pumpkin. So they picked out the pumpkin for that project. Then Christian wanted a mini pumpkin to paint, and also needed another small pumpkin for school. Paige decided on a pumpkin the same size as our “turkey pumpkin” and she painted that. My little Lulu (Alivia) decided she’d be different and choose a cute little gourd that kinda looks like a giant acorn ;). Paige thinks it looks diseased and will not touch it, but I have to say, I love that little gourd - it’s so darn cute!!


Well, that was our pumpkin pickin' adventure/craft. Fun stuff. Hope you all have a great weekend!!

Tuesday, October 26, 2010

My weekend project...Halloween "Goodie Bags" a-la Bo Bunny

Hello there. Today I wanted to share the project I made this weekend. Ok, first thing you should know about me is that I am the mom who avoids signing up for goodie bags for my children's class parties (especially now that there are 2 of them in school!!). I'm sorry, I do. First off, it just gets too expensive and secondly (and especially) both of my kiddies LOVE making & decorating cupcakes (and it's something we can all do together), so, I usually sign up for cupcakes instead!!

Ok, that was until I saw THIS amazing project on the Bo Bunny Blog!! I have to say: Bo Bunny's "Whoo-Ligans" is my absolute fave for Halloween this year!! I just love the colors, patterns, and THOSE HAPPY LITTLE MONSTERS. (...SIGH...) I was so excited when 2Peas got it all in, that I ordered 3 of each page (of patterned paper) and a sheet of the chipboard stickers!!

Anyway, Frances made the CUTEST project ever, it was just amazing AND she included a template and detailed (easy) instructions! After seeing her tutorial, I went and signed each of my kids' names right next to "Goodie Bags" right away!! I felt like such a rebel ;).

I know, mine are NOWHERE as detailed and purty as Frances'. She did an amazing job. I was going to just go crazy, and then my hubby said "THOSE KIDS ARE JUST GUNNA EAT THE CANDY & THROW THEM AWAY"!! Now, if one of my kids got something like that, I'd keep it forever! I'd put it on my desk at work, and smile every time I saw it :). But seeing as he was probably right (he's got to be right ONCE in a while, right?!?) I decided to not go "crazy" but still cuten them up. I just didn't want to "waste" my pretty chippies...is that bad?!? Plus, I initially planned on using them for my babies' Halloween pages anyway - especially if they'd just end up in the garbage anyway (shuttering at the thought right now!!). Here's a look at mine:

For Christian's class (Kindergarten) I used this page and paper pieced all of the little monsters and their lil cute sayings - and added googly eyes for AWESOMENESS. For Alivia's class' I put my Lawn Fawn "Heebie Jeebies" Stamps to good use by stamping the Happy Halloween webbed sentiment and added the (most adorable) spider into the web for added cuteness. I added Tootsie pops and twizzlers as the treats and finished them off with "from: Christian/from: Alivia" stamped with Lawn Fawn's Harold's ABCs and punched it out with a circle punch. Wow, I'm really long winded today - sorry about that!!!! Hope you have a fabulous day!!